It may look like a puzzle game, but herringbone is as easy as any other pattern. If you love the herringbone tiles design, all you need to do is select any rectangular tile and lay it accordingly. There are no specific sizes or textures to be maintained when you are trying to lay this pattern; it is just more time-consuming.
Regardless of whether you are tiling a whole floor, kitchen surface, a feature wall or any other small area, we have listed here the top five inquiries customers usually have about the herringbone tile design.
Q1) How to start the herringbone tiles pattern?
The starting point ultimately depends on what end results you want to achieve. If you admire aesthetic looks, you should lay the tiles symmetrically. For this look, you need to identify the centre of the area and start laying the tiles from that point.
However, starting from the middle of the area to be tiled may obligate you to cut tiles at the edges. If you do not like the tiles cut at the edges of your walls and floor, start laying the herringbone tiles pattern from the sides. You may still have to cut some of the tiles to complete the pattern, but it will give you authority over the sides of the floor and walls.
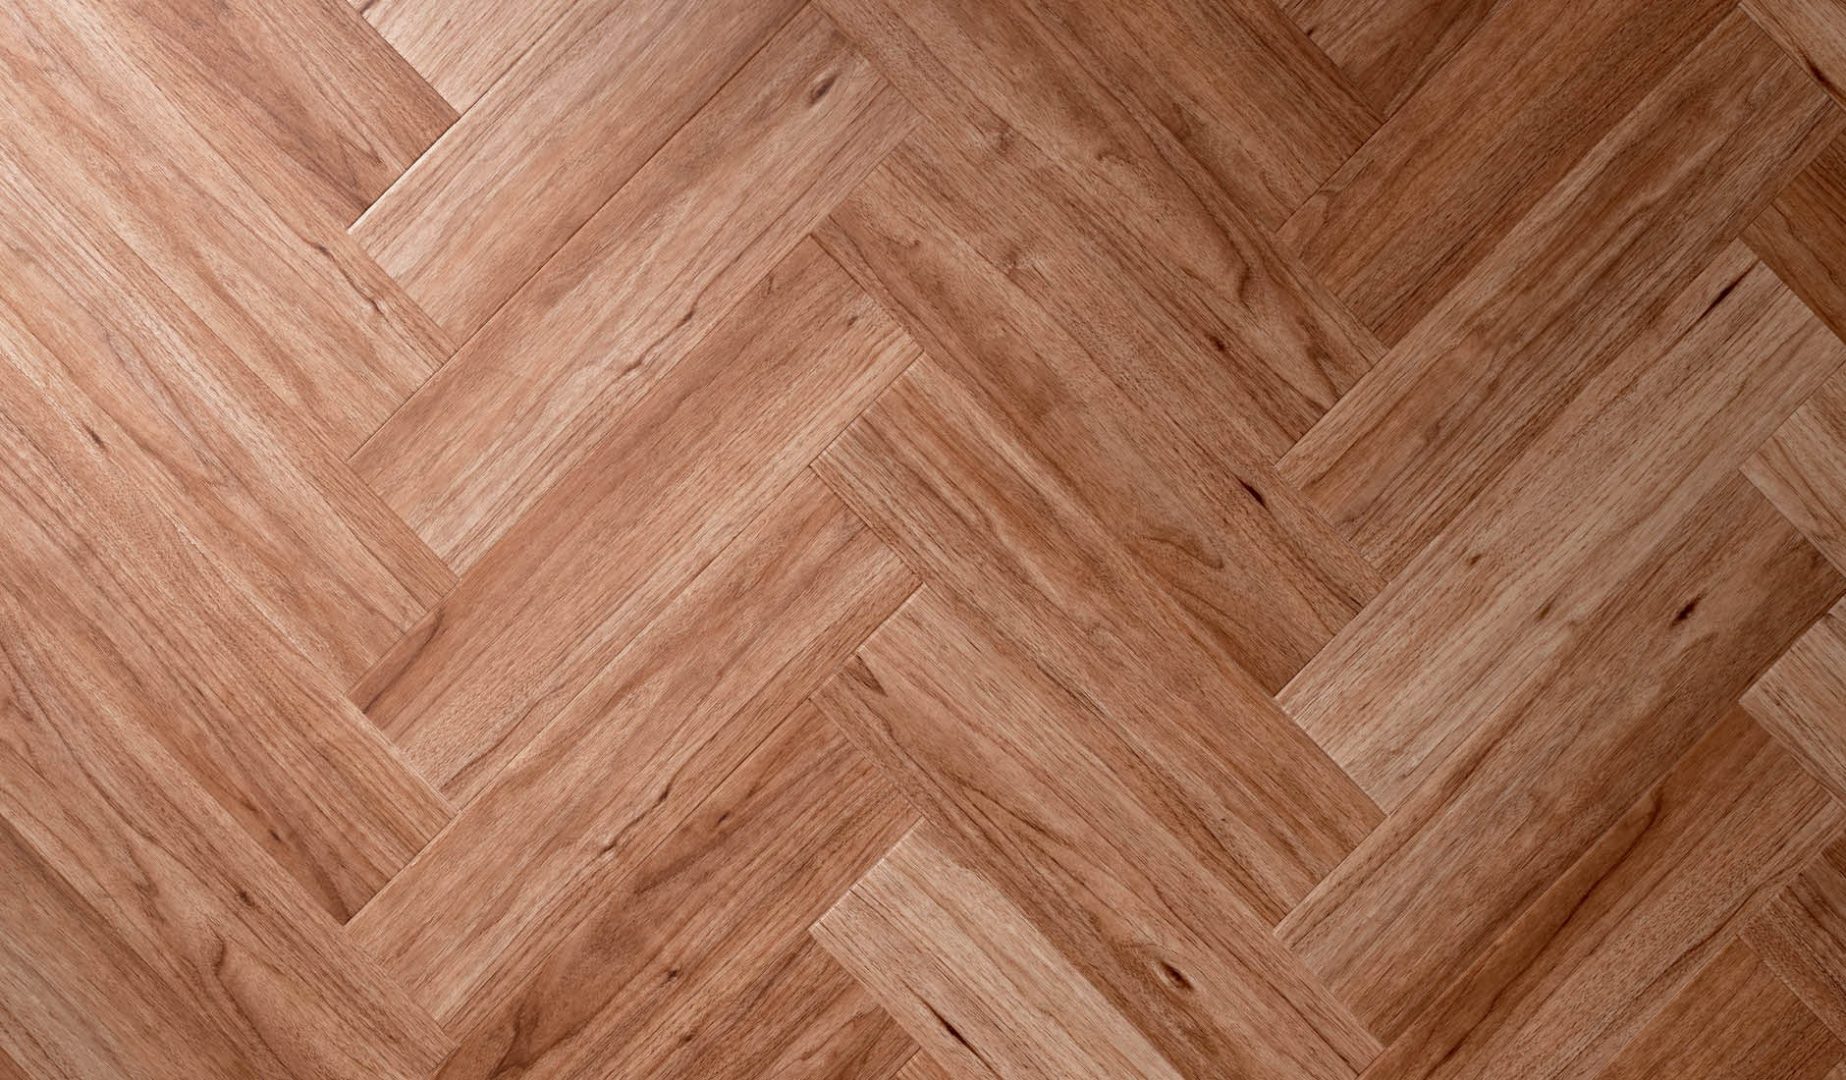
Q2) Which direction to choose?
Maximum tile laying patterns do not have any fixed rules and regulations, but herringbone tiles pattern requires some set techniques. Other than choosing rectangular tiles, the most important rule to follow is laying each rectangular tile exactly at 90 degrees. Each tile should be placed 90 degrees to the tile laid next to it. This pattern is also known as “fish bone”.
Q3) Which type of grout should be used to accomplish the herringbone pattern?
This is entirely up to your choice and the outline that you desire to achieve. However, often a grout that can quickly mix with the tile colour and complement the herringbone tiles pattern is picked.
Do not limit your creativity to the boundaries of rules and regulations. You can try selecting a contrasting grout to create a unique style of herringbone design.
Q4) Which tiles should be cut in a herringbone tiles design?
This is related to the space you are planning to craft with the herringbone design. To get an idea of the final picture, we suggest that you lay your tiles without glue or hot wax before fixing or cutting the tiles. Along these lines, you can see which tiles should be sliced to fit into space.
You can identify which tiles should be sliced to fit into space. When you have distinguished which tiles should be cut, you would then be able to point them up with a marker and remove. Remember, all the cuts ought to be done at 45 degrees, for the perfect herringbone tiles pattern.
Q5) Is there anything less demanding or less expensive when we talk about herringbone pattern?
If you do not have the budget to get involved in herringbone patterns for your floor and walls, you can select mosaic style sheet with herringbone pattern.


Leave A Comment